![]() Here we are, about to delve into a world largely unexplored – homemade makeup. If you’ve ever wondered how to create homemade makeup, perhaps now is the time to explore. We are all having to make cutbacks in the current economic situation and on the whole, makeup (at least good makeup) is reasonably expensive. Not to mention all the plastic waste it creates. But what if there was another way? Is it truly possible to create homemade makeup of any calibre? Join me on a journey of discovery. I have so far attempted to make foundation from ingredients I had at home, and although not bad, I’m not completely sold. I am certainly not one to give up though, so here we go with a few ideas/recipes. I’ll let you know when I’ve given some a try, I’m also planning to add video of the results when I get the chance. I hope you are as excited as I am to try making these!
Here we are, about to delve into a world largely unexplored – homemade makeup. If you’ve ever wondered how to create homemade makeup, perhaps now is the time to explore. We are all having to make cutbacks in the current economic situation and on the whole, makeup (at least good makeup) is reasonably expensive. Not to mention all the plastic waste it creates. But what if there was another way? Is it truly possible to create homemade makeup of any calibre? Join me on a journey of discovery. I have so far attempted to make foundation from ingredients I had at home, and although not bad, I’m not completely sold. I am certainly not one to give up though, so here we go with a few ideas/recipes. I’ll let you know when I’ve given some a try, I’m also planning to add video of the results when I get the chance. I hope you are as excited as I am to try making these!
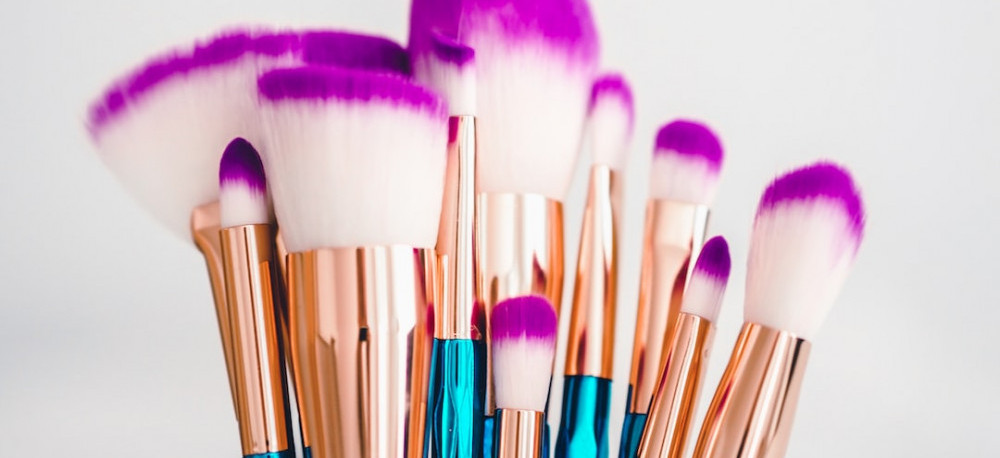
Hot tip: I am about to buy this kit, knowing I am going to be making a pile of stuff – ensure you have a decent bit of stock to facilitate your experimentation. I shall let you know how it goes!
Homemade mascara
I’ve had a look at a mixture of recipes for this and there seems to be a variation on the best ingredients to use – I’ve gone for the simplest (as I always do), similar to that published on Wildly Organic. 
Ingredients
- One tablespoon of oil – sweet almond or coconut
- Activated Charcoal tablet
- 1/8 teaspoon of beeswax
Method
- Add the charcoal to a small container.
- Add 1/2 teaspoon liquid oil and mix gently to combine.
- Melt the remaining oil and beeswax together in a double boiler.
- Once all the beeswax has melted, slowly stir it into the charcoal mixture. All the charcoal grains should be well mixed in to create a smooth mixture.
- That’s it, you have your own mascara! You could decant the mixture into a small container to dip your mascara wand in, or leave in the container (preferrably covered, as if you have kids like me there is a high probability of spillage). When applying allow time to dry in-between applications. I will film me attempting in the very near future in case you need a laugh!
Homemade Blusher
I found this recipe on DIY Blusher: Got Some Spare Raspberries? – Natasha Bird (tumblr.com). As always, I’m going for the simplest method, so this recipe has only 2 ingredients, hurrah!
Ingredients
- Freeze dried raspberries (you may need to play around with the quantity depending on your skin tone)
- Arrowroot starch (look in the baking section at the store)
Method
1. Place freeze dried raspberries into a food processor or grinder and wizz up until all bits become a powder.
2. Mix your raspberry powder with the arrowroot starch. Add a small amount at a time until you have reached your desired shade of blush. Make sure to keep sealed away when not in use. Personally I am going to have a play about with this and will probably try adding a small amount of biodegrable glitter as I love a bit of shimmer!
Homemade Lipstick
The beauty of making your own homemade lipstick is that you are still able to customise shades simply by switching out which substance you use as a pigment. The beauty of using peppermint oil on your lips is that as well as smelling lovely, it has a plumping effect. I’ve used it in lip balm just to make the most of this so can testify that it’s effective. In this example we’ll look at 3 possible shades – pale pink, cocoa and dark pink.
Ingredients
- 1 tsp beeswax
- 1 tsp coconut oil
- Couple of drops of peppermint oil
- 1 tsp cocoa butter or shea butter
- Dark pink shade: 1/4 tsp mica powder Cocoa shade: 1/4 tsp cocoa powder Pale pink: 1/4 tsp pink clay
- Empty lipstick tubes
Method
- Melt the beeswax, coconut oil and cocoa/shea butter in a double boiler over a low heat.
- Once all are melted and combined, take off the heat and stir in your chosen colour along with the peppermint oil.
- Pour into your empty lipstick tubes and allow to set.
Homemade foundation

There’s not an exact art to getting your desired shade of homemade foundation. Again we shall look at 3 basic shades and look at how to darken/lighten as you require. This time, we only need 2 ingredients, as shown by All Natural Homemade Foundation Powder: For a happy face. (thankyourbody.com).
- Arrowroot powder
- Ground cinnamon, cocoa powder or nutmeg (either as a mixture of each or single ingredient)
- Few drops of jojoba oil if you require it to be more compact and less loose
Method
1. Add arrowroot powder to a container ranging from 1 tsp (dark skin) to 1 tbs (light skin)
2. Add in small amounts of your chosen pigment(s) until you are happy with the tone you have created, then oil if you are using
Homemade highlighter
This is another nice and easy one that I am planning to try and will share when I do. I found the basic recipe on
DIY Cheek and Brow Highlighter…. – Jenni Raincloud. This led me down the rabbithole of mica powder – it turns out there are many different shades, which makes it a highly versatile ingredient for diy makeup! Choose a shade of choice depending on your skin tone and desired result. As a starting suggestion perhaps gold or white would be a good option, though you can get pearlised versions so there really is a lot of choice!
Ingredients
- 1 tbs sweet almond oil
- 1 tsp mica powder
- 1 tsp beeswax
Method
- Gently heat your ingredients in a double boiler, then transfer to a tin/container to set.
- Stir every now and again to ensure evenly mixed
- Press gently once set to give it a smooth surface
- Simply apply to your face when required.
Conclusion
So there you have it as a starter – making your own makeup is less complicated than you might think. It’s also pretty fun! The best part is that you really can customise what you make to make shades that work for you (plus you have bragging rights you made it yourself)! Let me know your makes in the comments below, I’d love to hear them plus any other ideas.
Ali R
Leave a Reply